
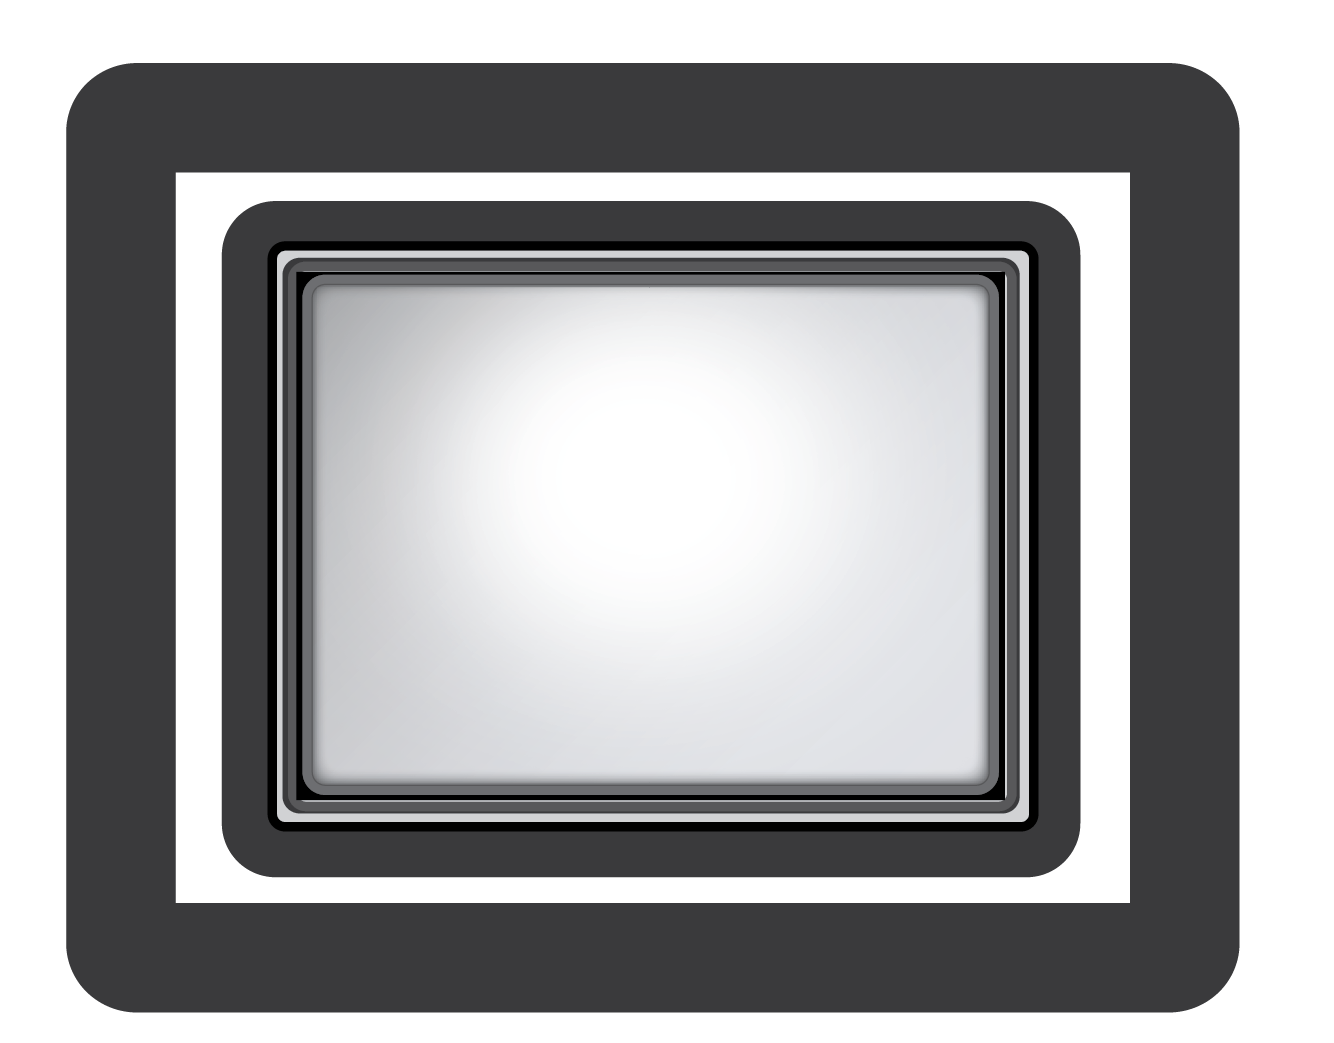


 Today i’ve created my first layer of my ident, above is my arcade screen which I had created using Adobe Illustrator. The screen consists of rounded rectangles and normal shaped rectangles which is coloured in different shades of black and grey.
After Affects
New composition, Frame rate HDTV 108025 and the duration 4 seconds


Changed Full to Half.
Creating a mask “shape tool”
Clicked “layer” then “solid”


Chose the colour “pink”
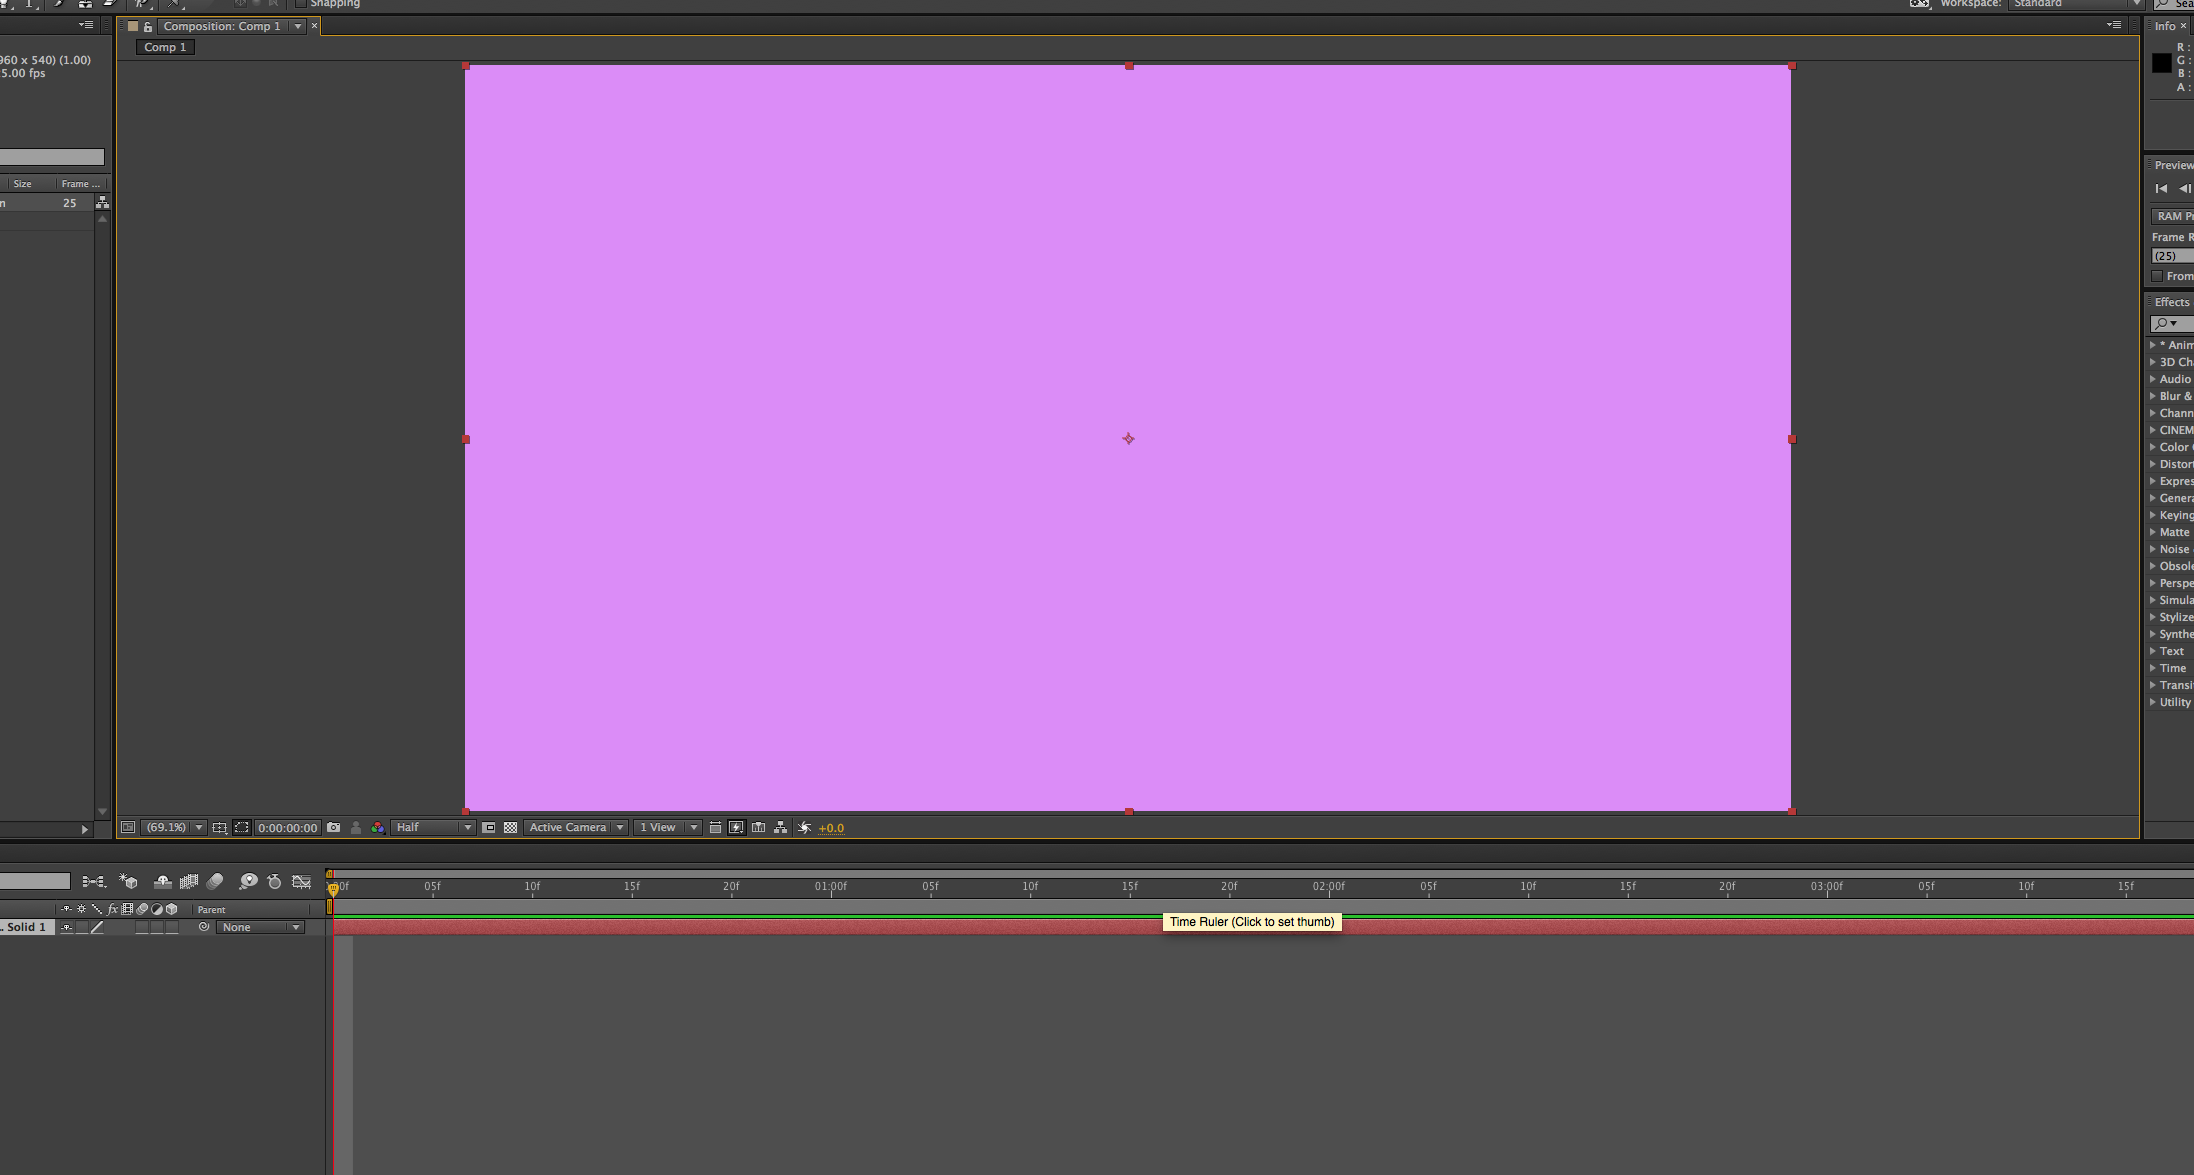
Created a ellipse using the ellipse tool to create new mask

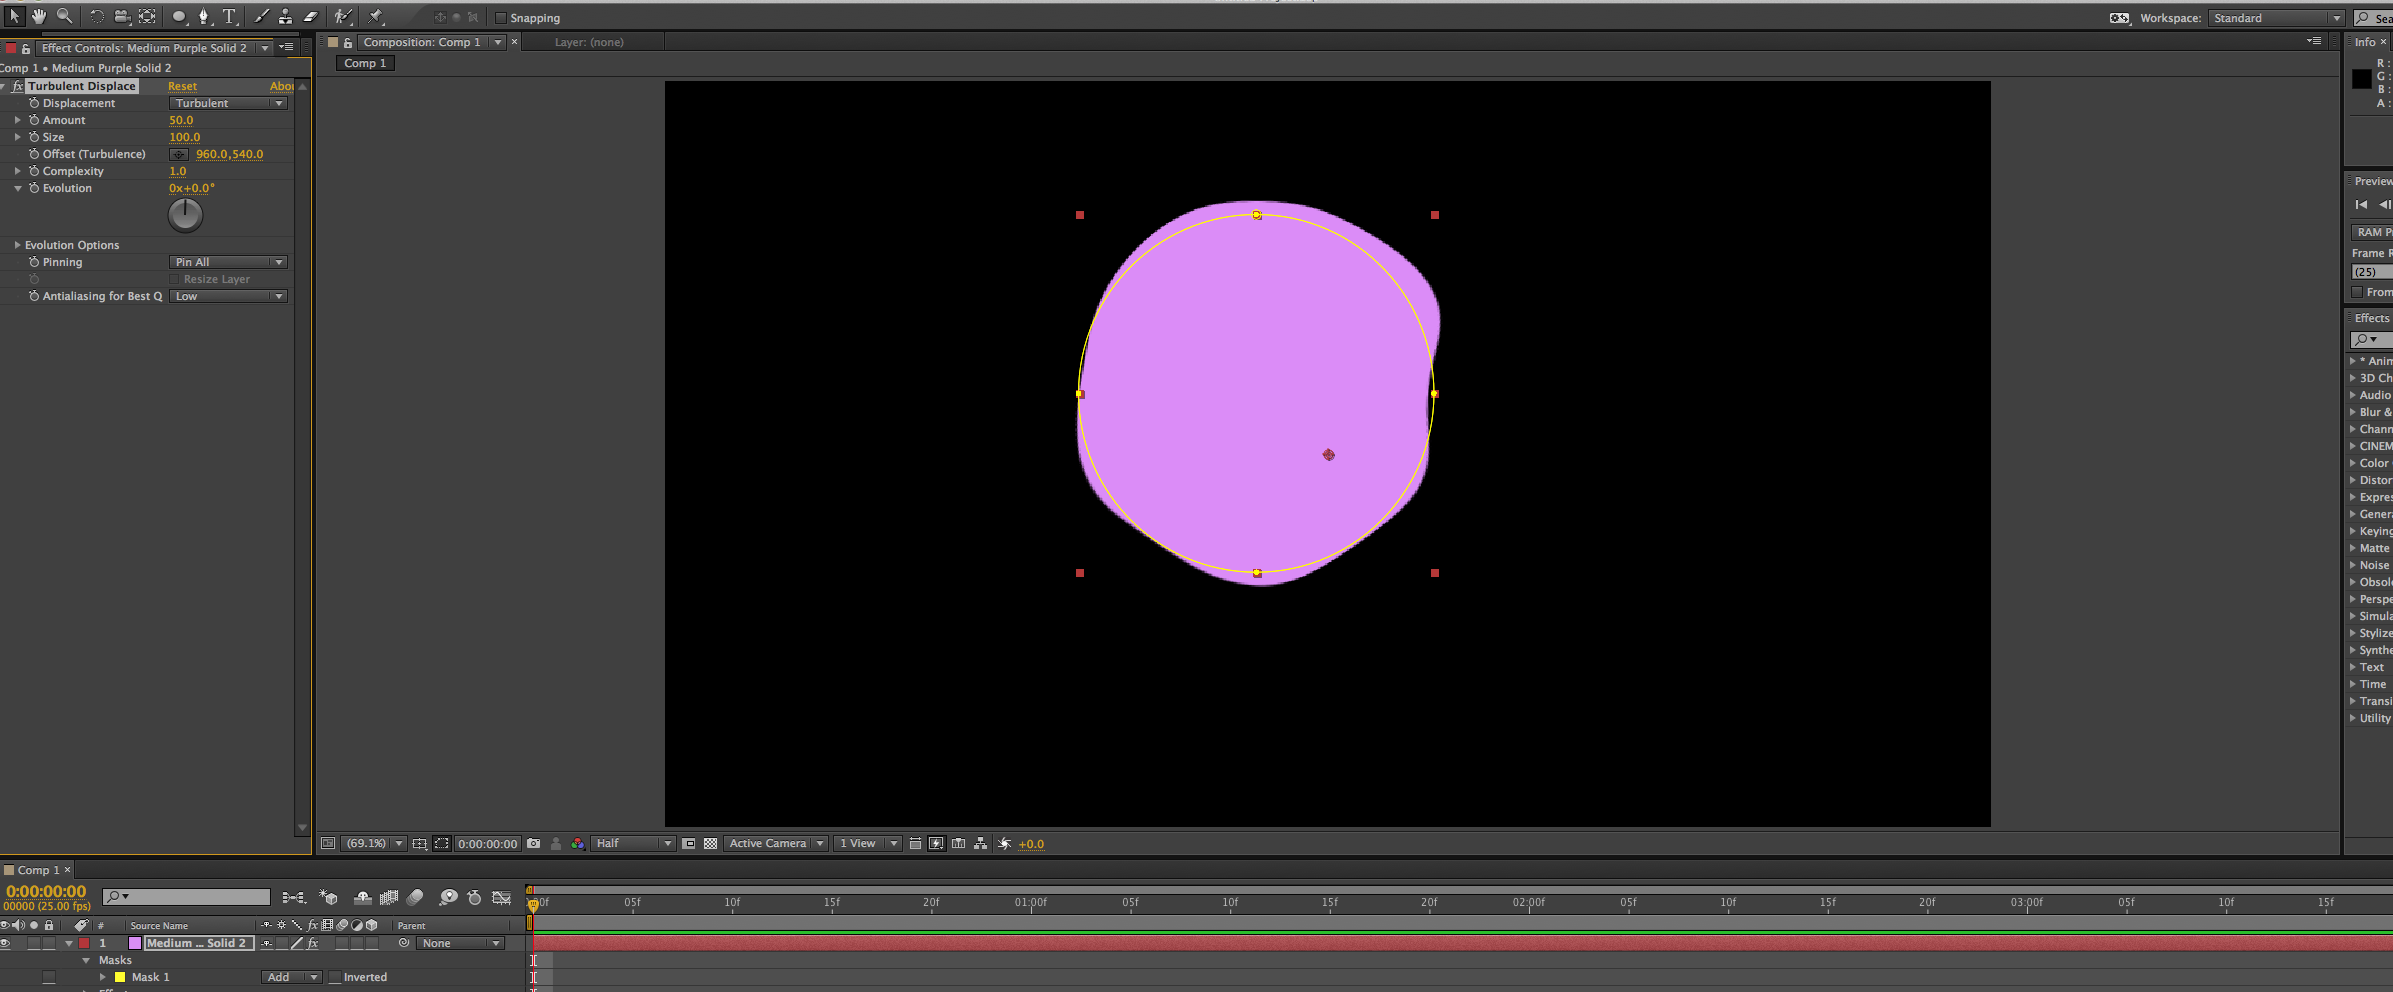
Effect
Applying a effect, applied a “distort”, “turbulent displace” effect to the solid layer


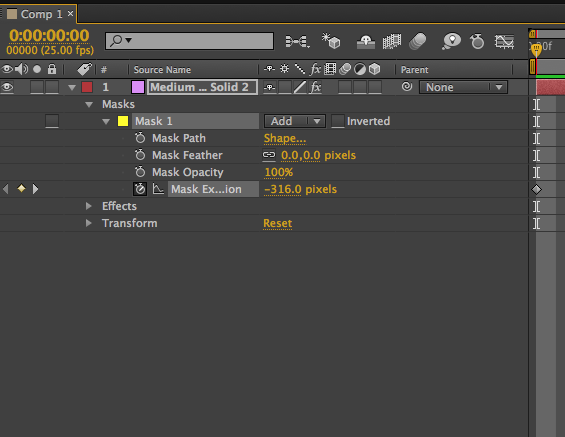
Setting key frame
e.g Dragging the timeline to the beginning, clicking on stopwatch for the expansion mask then dragging the timeline to the right which expands the mask.


Graph to speed up the transformation
The easy ease tool enables to expand the object to your preference, e.g quicker or slower

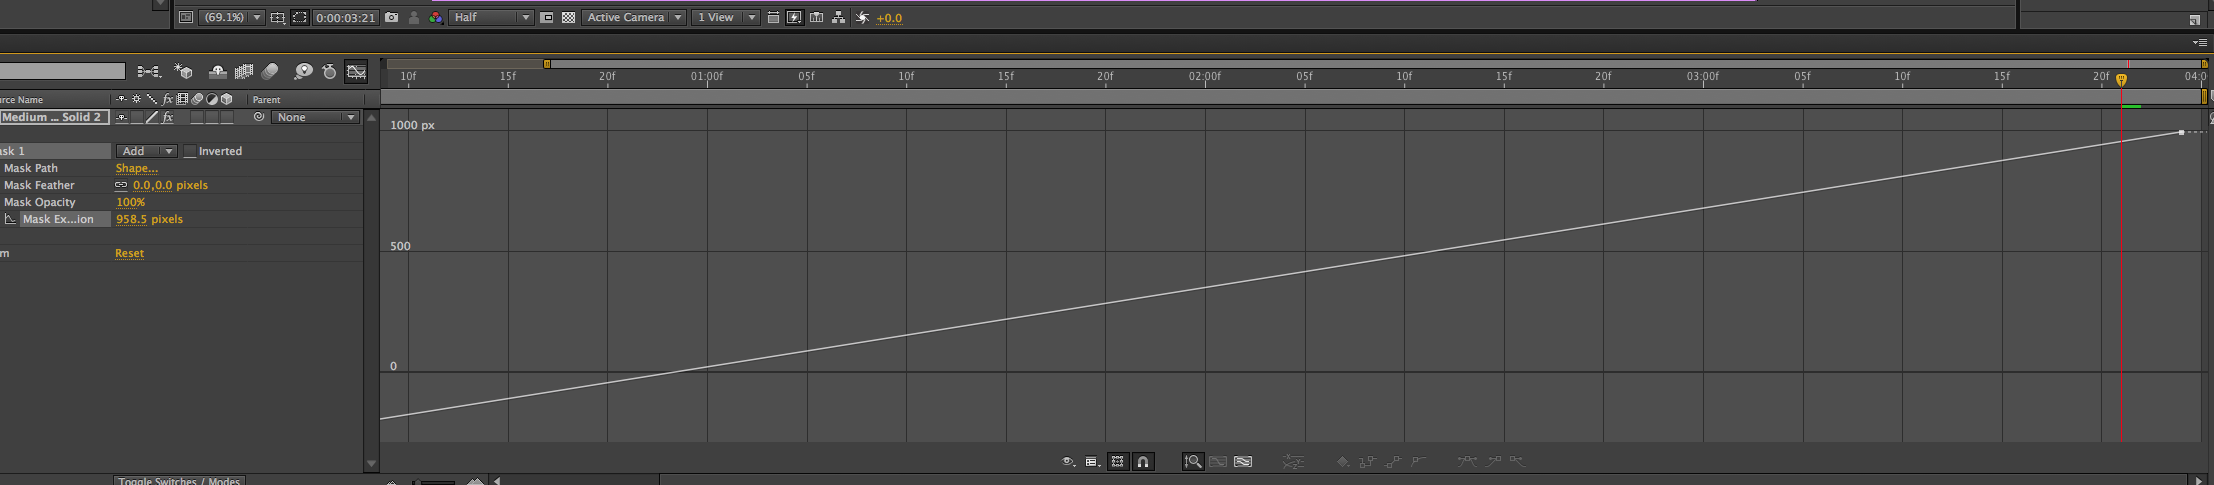
Below is the Easy Ease tool


The easy ease tool has enabled me to change the duration of the speed of the animation, I wanted the start to be quick the gradually become slower.
Adding Glow
Making the layer 3D


Adding light
Layer- New- Light


Playing around with glow settings


Changing the colour of my solid

Producing mud


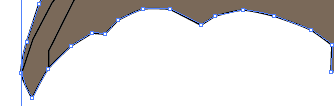
Using the pen tool, I had traced around a image of mud, this technique was much quicker than using the brush tool and much more neater. Perviously I had used the brush tool, which involved me colouring around the template, however with my second of image of the mud, I had used the pen tool, which is screen shotted above.
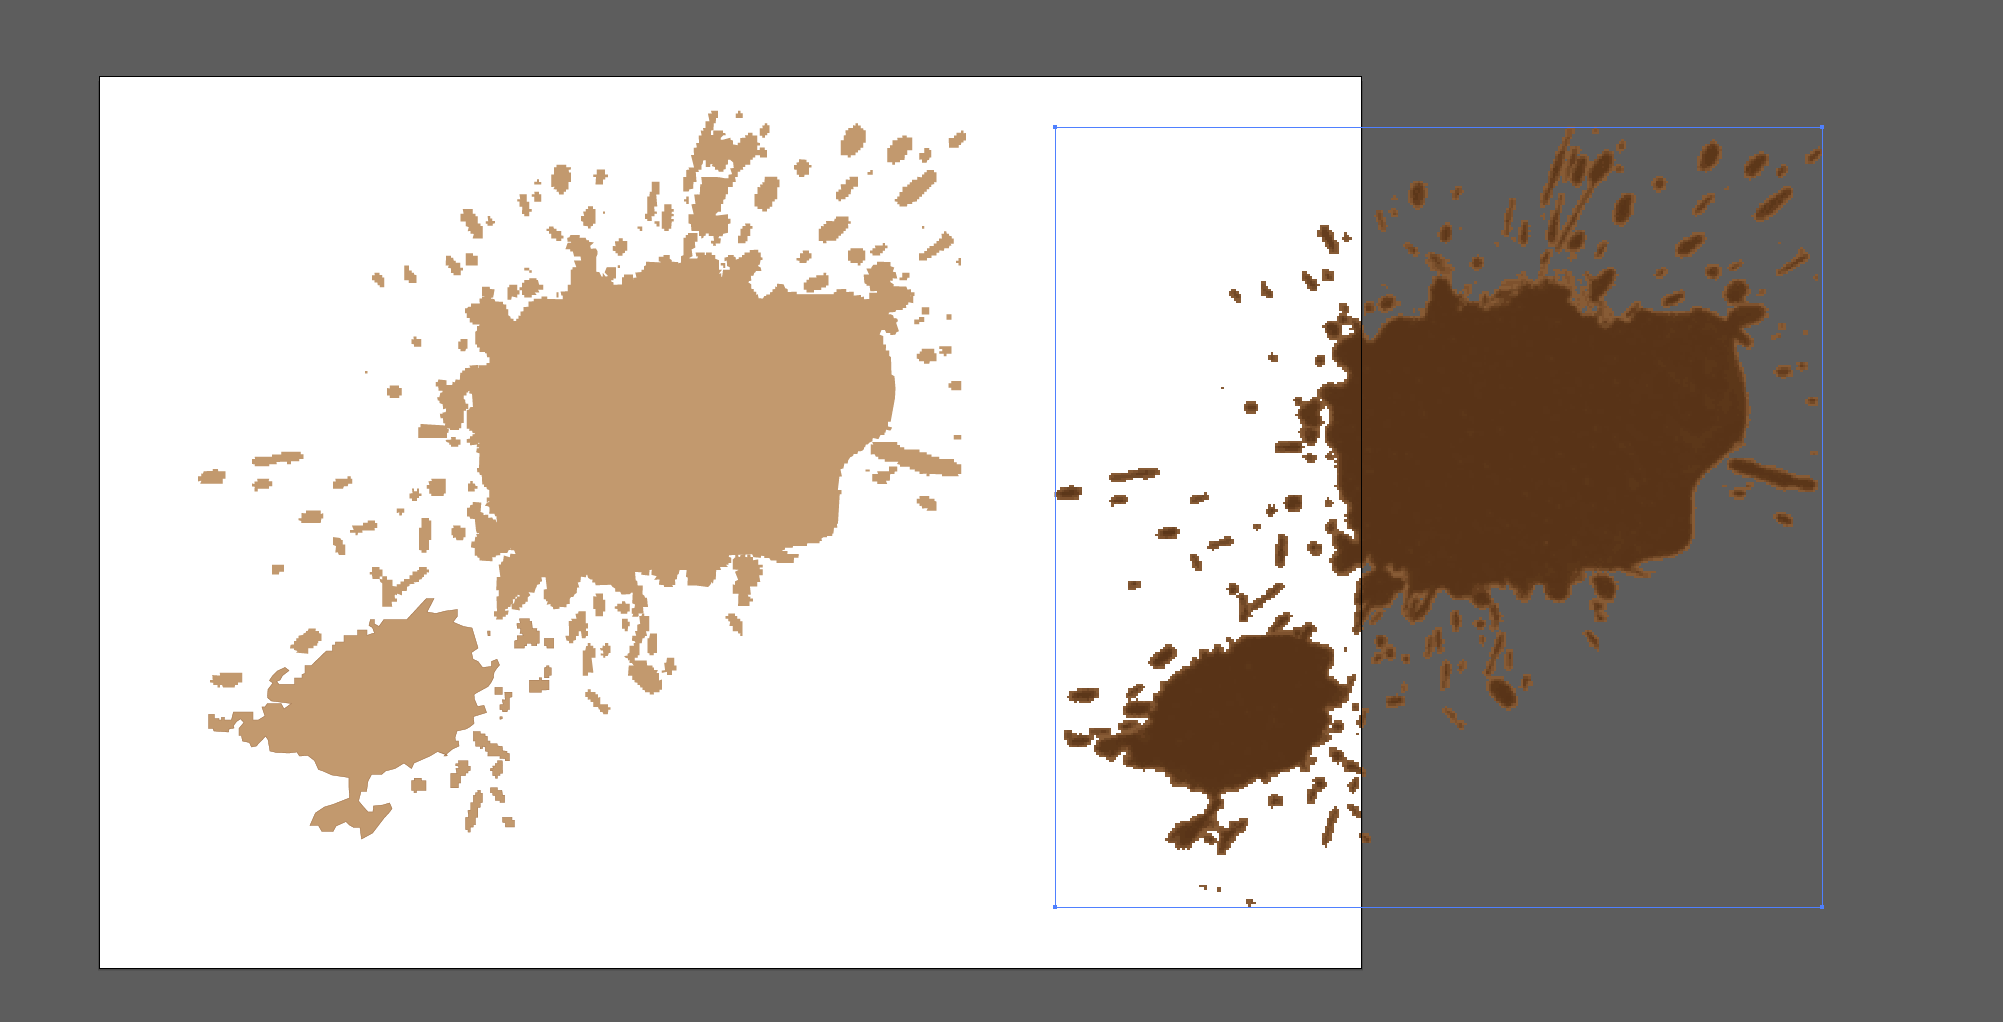
Above is a screen shot of the end result to my splatter of mud. On the right hand side I had traced over that image, and recreated my own version, using a lighter shade of the colour brown. This image was made up using squares, therefore using the pen tool was easy to use and to trace over the image properly. The splatter of mud will be included within my ident, as apart of an aspect which will appear on the arcade screen.
End result of mud

Creating the brain


My initial idea for my brain was for it to be “real life” however the brain image that I had originally had was not copyright free, therefore I had to find an alternative, during this process I hadn’t found a Brain image that I had in mind.I then decided to create a animated version using the software Adobe Illustrator. I had traced around the original image then using the brush tool painted the insides with ink and then outlined in detail with the brush tool using the colours, pink, purple and grey. My final result is screen printed below.
End result of Brain

Green screen Footage online
http://www.canstockphoto.com/footage-video/greenscreen.html
Above is a website I had come across, which provides free green-screen footage of all different types of subjects including the green-screen footage I needed. All these footages are copyright free.
Creating Bat

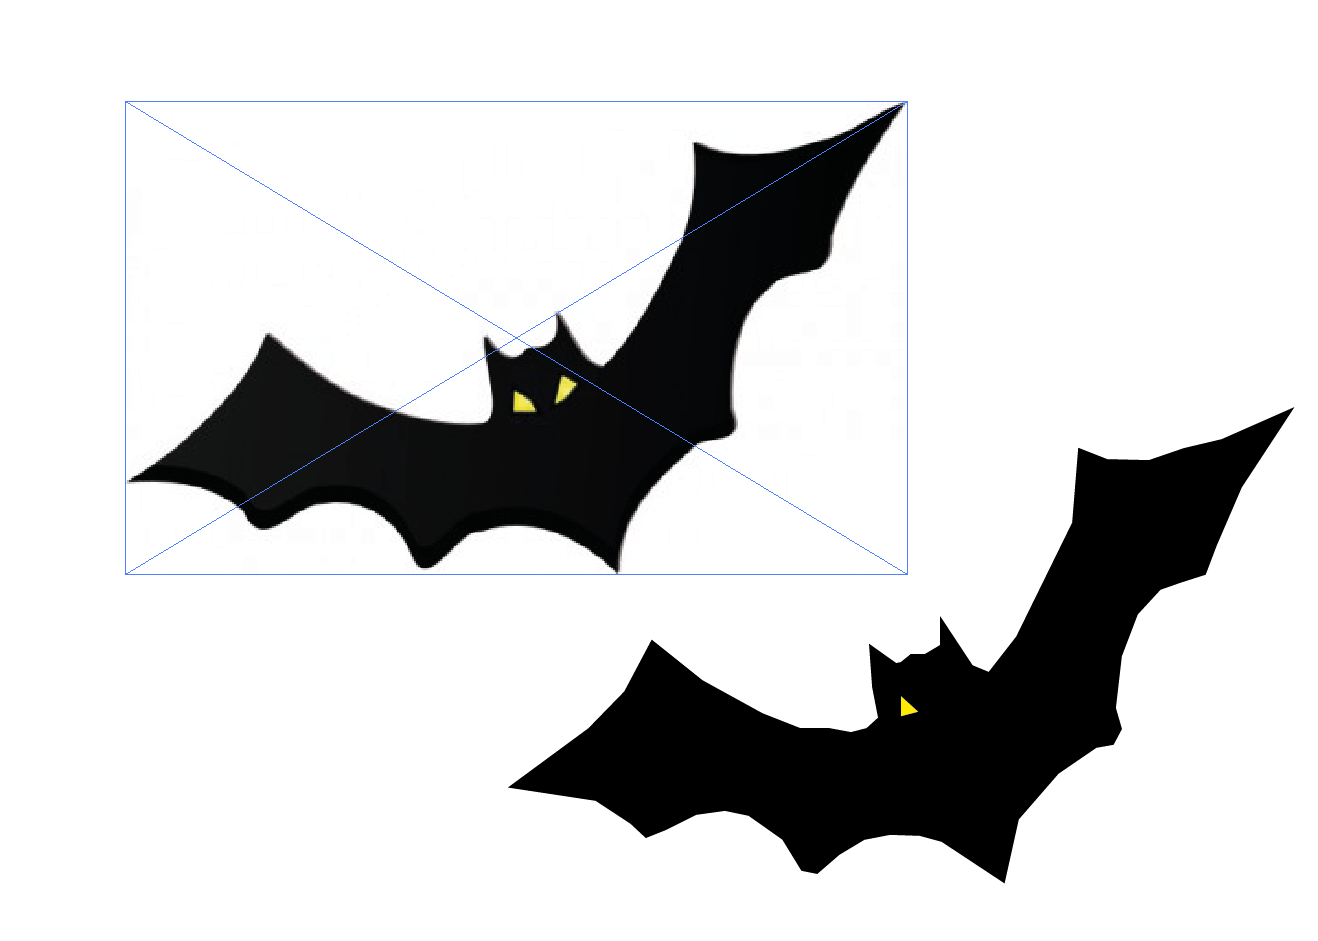 I had taken a image from Google images of a free copyrighted black bat, I had then dragged it into Adobe Illustrator , using the pen tool, I had traced around it, which is shown above. However I didn’t particularly like the design, so I decided to get a different image and re do the steps I had done before. Below are the screen shots of these steps.


Above shows the transformation within the straight lines to curve, using the curve tool allowed me to re shape the pen tool lines, to create a neat, tidy, tight look.
Creating Red Button


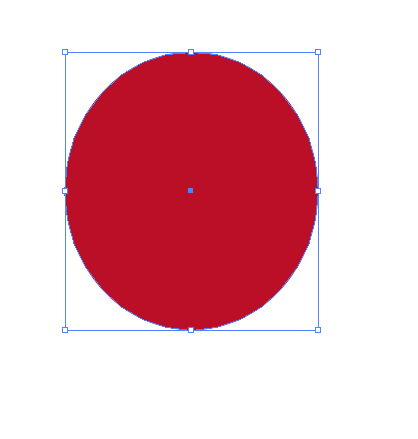


Using Adobe Illustrator, I had created my red button, which is a major feature of my ident. I had created it using basic shapes such as: circles and squares.The steps are provided above.
After Affects


